Before launch PGAP-X, you need a workspace.
A workspace is a file folder. You create a folder in your personal computer's disk whereever you want. And name this specific folder whatever you want. Let's say: "WorkDirectoryExample", and this is our "workspace".
Pay attention, this workspace should contain Two sub-folders, which means you should create Two specific sub-folders in your workspace, and their name is specific:
Genome sequence in Fasta file format should be placed in GenomeSequence fold. Genome annotation file in GFF format should be placed in GenomeAnnotation fold.
Be sure to Create These Two Folders with exact name above.
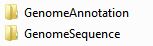
Figure 3.1.1 shows the two folders you should create in your workspace, and if you start to run the tool, you will find some new folders in your workspace, as you can see in Figure 3.1.2, which are create by the tool.
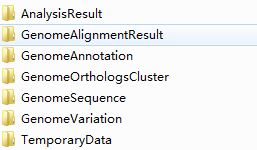
Do not try to delete them.
The next step is to find species you want to analyze. Here we are interested in 6 strains of Streptococcus pneumonia, which are:
We will use data of these 6 genome for following analysis.
Genome Sequence Data is basic data for comparative genomic analysis.
We accept FASTA format(see FASTA format in wikipedia), which you can download directly from NCBI. You should put all the genome annotation data into file folder "GenomeSequence"
We accept NCBI PTT File Format of genome annotation, this file is a text file that contains a tab-delimited table with information on location, annotation, COG families, locus tags, GI numbers, Length and Gene symbols. The specific headers follow the order given in the example as per NCBI as of 2009.
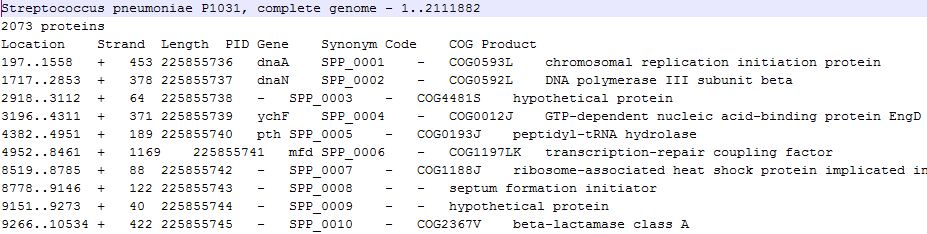
You should put all the genome annotation data into file folder "GenomeAnnotation".
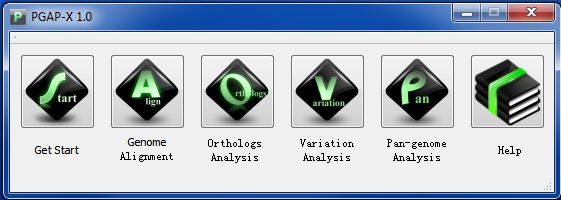
Now it's time to start PGAP-X, the Main interface is called & PGAP-X Lite Launcher", the following figuers are made under Windows 7 system.

Click "Get Start" Button, and choose the folder of your workspace, if you follow formal directions, you will see a interface like Figuer 3.5.2.
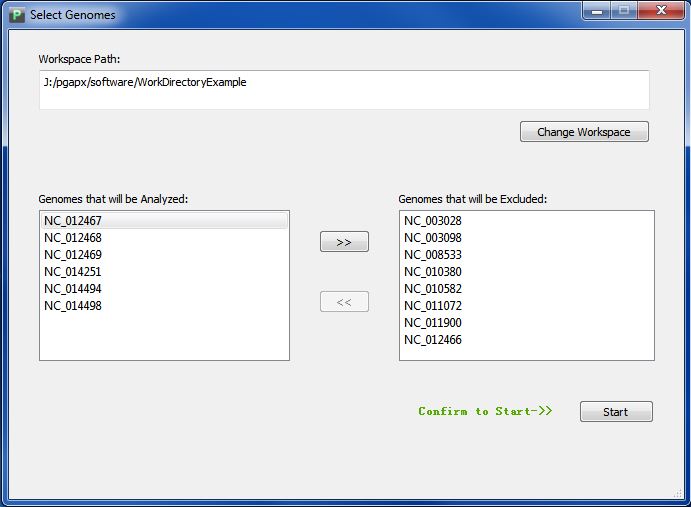
Anytime you want to change your workspace, click button "Get Start".
Please be advised that PGAP-X only accept file path containting English letter, numbers, ".", "/", "\", "_", "-" and blank space.